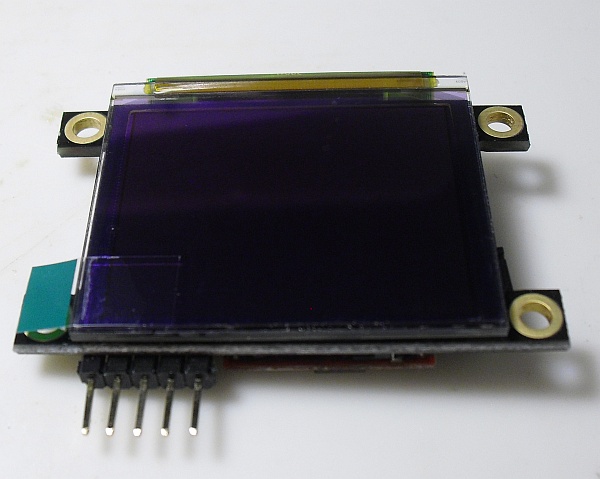
Recently, I found out that I had won a door prize in the 555 contest. I expected that it would be something small like a solderless breadboard or maybe a pocket DVM. Instead, I was pleasantly surprised to learn that I had won a modern, 1.7″ micro-OLED display from 4D Systems. With a MSRP of $70-something, it might have otherwise been a while before I got around to trying it out. Thanks to the generosity of Chris Savage (of Savage Circuits) in sponsoring this prize, I have the chance to experience this cool toy firsthand. (Thanks, Chris!)
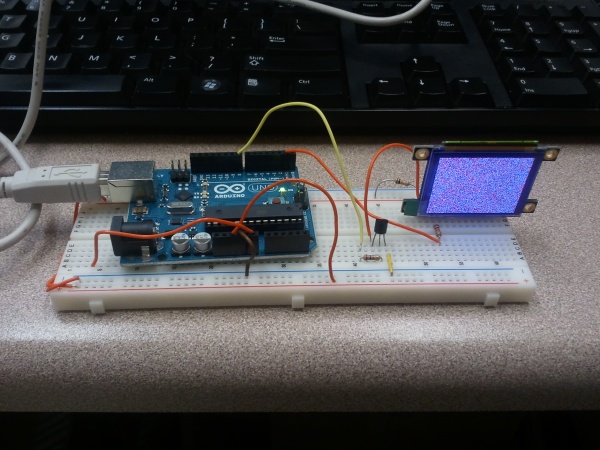
Interfacing with the display is very straightforward: supply 5VDC and ground, and connect a 1k resistor in line with the serial input, if driving it from a 5V TTL serial source. The display autodetects the baud rate up to 256k, according to the data sheet. (The Arduino I’m driving it with is known to work up to 115200 baud, so I used that.) For this application, display ground is gated via a 2N3904 transistor, allowing the Arduino to switch the display on and off (40mA is a bit too much for the Atmel to switch on its own.)
From there, it’s just a matter of sending the right commands (clear screen, set pixel, etc) to the display over the serial line. Half an hour of tinkering later (mostly because I initially didn’t read the description of the startup protocol in the instructions), I had an Arduino sketch running to display a raster scan of randomly-colored pixels.
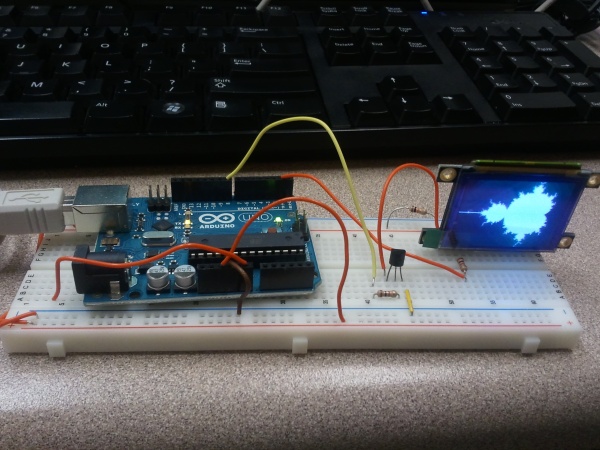
Next, I wrote my graphics “Hello, World!” stand-in: a Mandelbrot Set program. The display uses a 65,536-color scheme: five bits each for red and blue, and six for green, so I set it up for 31 iterations and used that value for Red and Blue, and twice that value for Green. This produced a distinctly red-tinted display, so I backed off on the Red value by a constant 5 (clipped to remain nonnegative), which produced a decent grayscale Mandelbrot Set image.
Reading through the datasheet, it turns out that the display supports many useful graphics primitives. So far, I’m only using clear-display and set-pixel, but the native GOLDELOX controller supports pixels, lines, polygons, circles, images, and bitblt operations, among others. It even has a slot for a microSD card. The display draws about 40mA of current (at 5V) when running.
Overall, I’m impressed. The uOLED-160 isn’t cheap (OLEDs generally aren’t, yet), but it does provide an easy-to-use way to incorporate full-color graphics into almost any embedded system. (It wouldn’t even be too hard to drive it with a really small MCU like a PIC10F200, if need be.) The incorporated GOLDELOX daughterboard does a good job of handling the graphical heavy lifting, allowing your code to describe the display in terms of basic elements. It would make a really cool DIY programmable watch display, for one thing. (Hmm…)
Given that I got such a cool display as a freebie, there are a lot of awesome people to thank. First, Jeri Ellsworth and Chris Gammell deserve a lot of credit for coming up with the idea of the 555 contest, getting it rolling, and organizing the whole thing. They managed to attract a lot of prize sponsors while keeping the whole contest vendor-neutral — a very good idea. They also got together an all-star group of judges, including Forrest Mims (of “Engineer’s Mini-Notebook” fame) and Hans Camenzind (the inventor of the 555). Through their efforts, the contest was hugely successful, and a lot of fun!
Also, as I mentioned, this particular prize was generously sponsored by Chris Savage, who runs the blog / forum / site Savage Circuits. I actually first heard about Savage Circuits through the contest, and signed up. They have blogs, videos, and a great forum — a very cool resource for a DIYer. Since I won the door prize, Chris Savage has been in touch with me, making sure it got here OK as well as encouraging me to post a Maker Profile on the site. (Hopefully I’ll get everything together for that soon.) Thanks again, Chris!


