Hot Stuff

When diagnosing something, make sure you know what failure looks like.

Recently, my gas oven decided it didn’t want to heat up. This makes baking rather difficult, so (after waiting the usual while to see if the problem went away on its own), I investigated.

Gas ovens are lit by a Hot Surface Igniter (HSI), much like how gas furnaces work. According to Dr. Google, this is the most common mode of failure for gas ovens without pilot lights. It’s also a relatively easy part to replace, as well, so I figured I ought to start there.

Peeking into the drawer under the oven, I could see the ignitor glowing. Oh, well, I thought — they can’t all be easy. I put the problem off for a while, since replacing the gas safety valve (really the only other possible culprit) would mean turning off the gas and disconnecting the gas supply. Low Priority.

What I didn’t know then was that the igniter had actually failed, even though it was visibly glowing. Gas ovens, as I eventually found out, have the igniter and safety valve wired in series. As the igniter heats up, its resistance decreases — and once it is hot enough, it allows enough current to pass that it opens the safety valve, allowing the gas to flow. The original one was still glowing, but not brightly enough to get hot enough to open the gas valve.

A $25 replacement igniter later, the oven is working once again. I even found a helpful video detailing the exact steps to replace it.

And I didn’t even have to mess with the gas line.

Posted in Troubleshooting | Tagged , , , , | Leave a comment

It Belongs In A Museum

There’s an open-source solution for just about any problem out there — but getting it up and running can more often than not turn into a nightmare of chasing down one rabbit hole after another for dependencies, drivers, sample configuration files, and so on. (Ever tried configuring a mail server?)

So it’s especially nice to come across a purpose-made open-source solution to a problem that’s not only Free, but actually easy to use.

MP4Museum is such a solution. With absolutely zero setup other than downloading and flashing an image file, it turns a Raspberry Pi into a preconfigured, kiosk-style video player that’s ridiculously easy to use.

By “ridiculously easy to use,” I mean you load one or more mp4 files onto a thumb drive, plug it into the Pi, and connect the HDMI and power cables. It boots up and does its thing automagically.

There’s even a custom 3D printable RPi case (for a Pi A+).
Or, as always, Thingiverse can hook you up with a few hundred options.

MP4Museum, along with similar “appliance” images like OctoPrint/Octopi, represents a new way of looking at small computers like the Raspberry Pi. They run from downloadable images and boot up as essentially completely configured systems. (OctoPrint, being a server, does require you to set up a few things.) Instead of downloading an app and using a multi-purpose PC, tablet, or smartphone to do a task, you can pull a $25 Pi off the shelf, throw the appropriate image on it (using the almost-as-easy-to-use BalenaEtcher), and you have an information appliance up and running.

Now if only getting the monitor mounted to the wall were this easy…

Posted in HOW-TO, Reviews, System Administration, Tools | Tagged , , , , , , , , , | Leave a comment

Which Way Is Up?

3D printing is still a craft, to a large extent. For all but the simplest functional parts, a successful print requires at least a little thought about filament type, layer height, number of shells and top/bottom layers, infill density and type, and so on.

One subtle parameter is part orientation. In some processes, such as on a 6-axis CNC mill, this might not matter. With FDM 3D printers (ones that use plastic filament), it does. Printed parts are far stronger in the X/Y plane, where layers are laid down, than they are in the Z axis. A long, thin part such as a conductor’s baton would be fairly strong if printed horizontally on the bed. The same design, printed at the same settings, would be very weak if printed vertically (if you could get it to stay on the bed at all.)

In addition, you can often minimize or eliminate the need for support material simply by changing the part orientation so that no overhangs exceed 45 degrees or so. This saves material, but more importantly, makes part cleanup a lot easier.

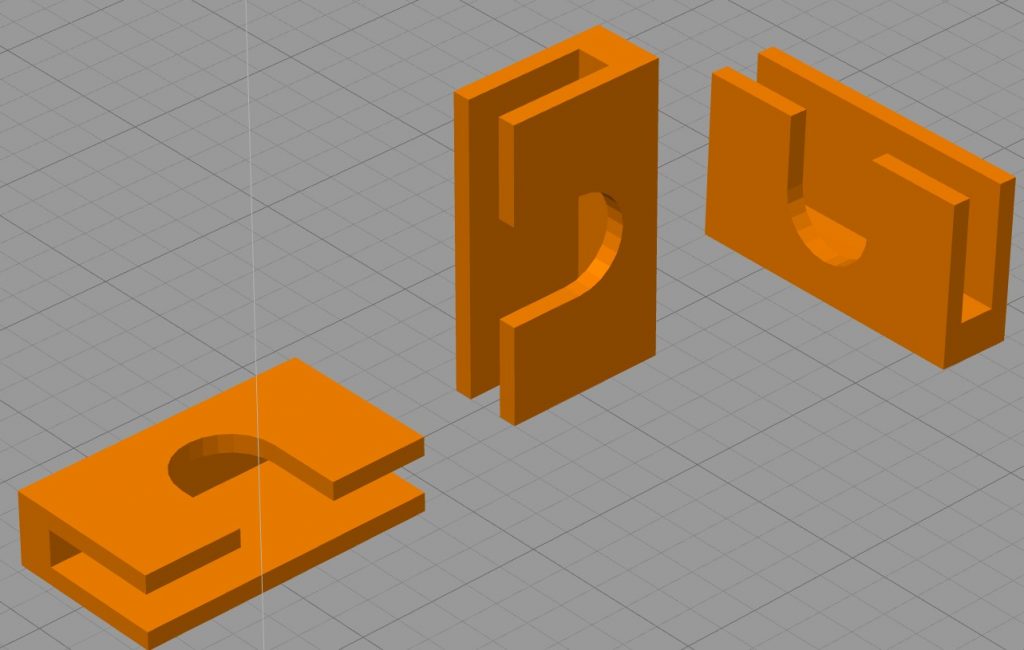
As an example, consider the following cable clip. Which of the three orientations would be best?

The three basic possible orientations,
ignoring symmetries and clearly-worse options.

The contestant on the right seems to be the best choice, at first. It can print in place with zero support needed. This also means it will pop right off the bed ready to use. Is it viable? Let’s take a closer look.

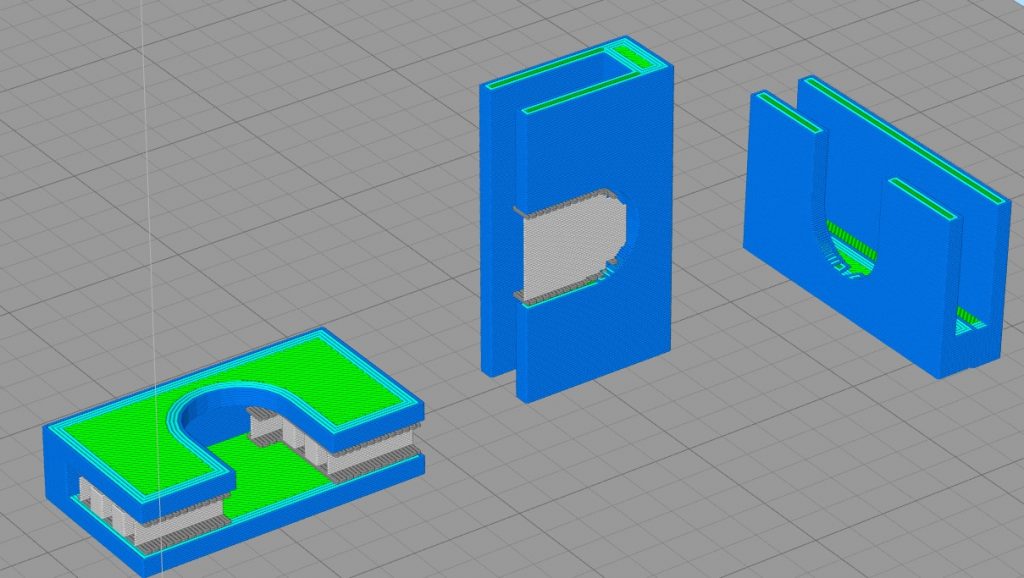
The three orientations, as the Simplify3D slicer sees them.

First, we use Simplify3D to slice the three models, adding support where it is needed. Let’s look at the model on the right…

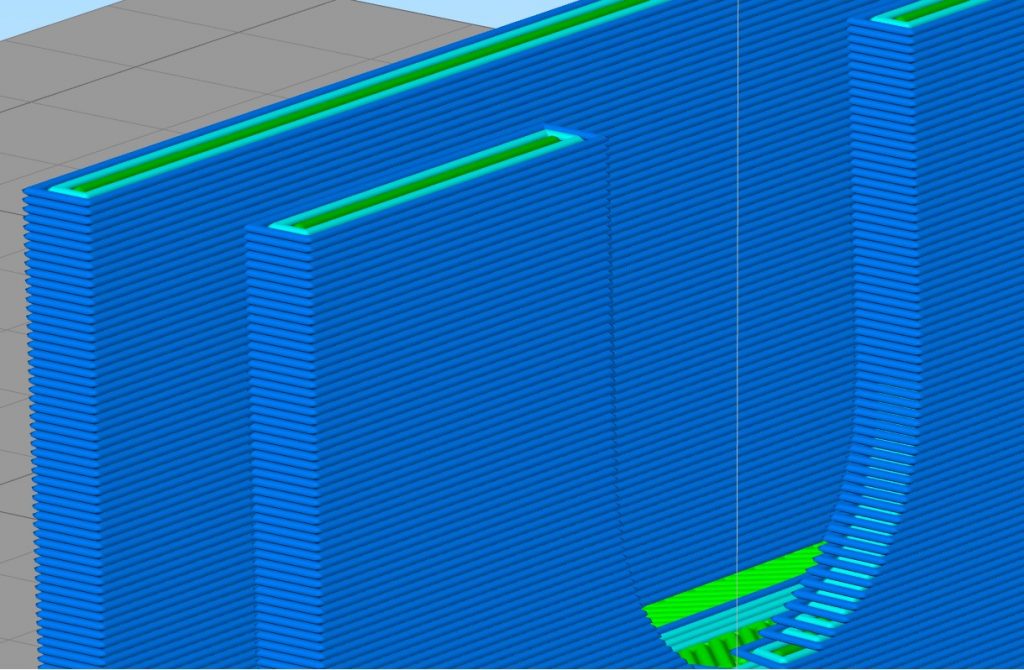
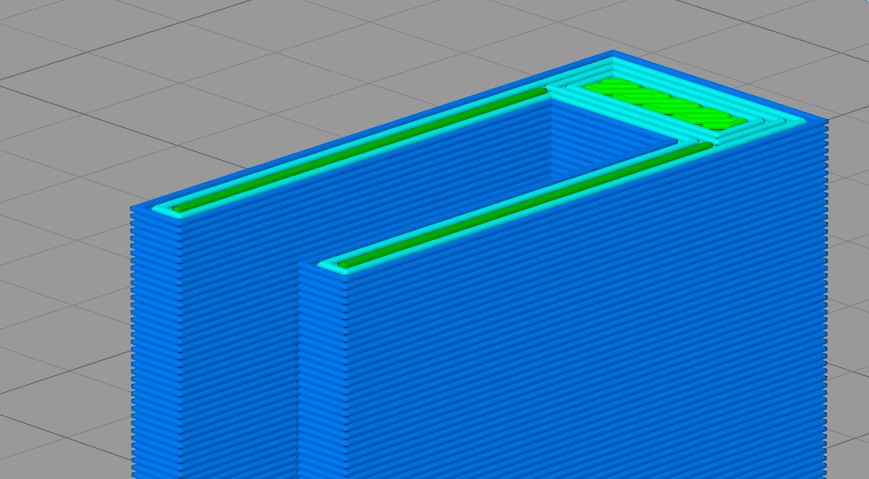
A closeup of the no-support-needed model on the right.

This orientation isn’t terrible, but it isn’t perfect. It won’t require any support, but those clip arms are rather weak, and could break under the stress of being clipped onto the bed.

But at least it isn’t the one on the left…

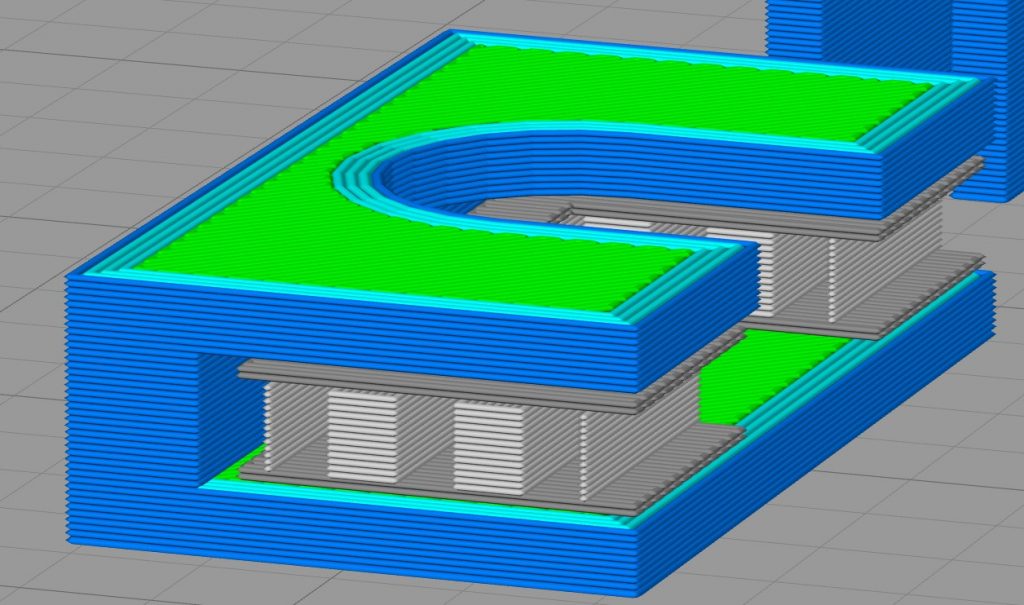
A closeup of the (worst choice) model on the left.

This one’s a disaster. That support is needed to print those cantilevered overhangs — and it will be a pain to remove unless it’s printed in something exotic like water-soluble PVA.

To add injury to insult, it’s the weakest of the three, too. The tension from clipping onto the bed will stress the back of the clip by the lever principle. Even money says it breaks while you’re trying to get the support removed. Double Plus Ungood. Let’s look at the third option.

A closeup of the center model (the one I’ll print.)

This one’s the winner. While it does need some support in the cable cutout — and while it’s weak along its length — it is strong in the one dimension that matters — the one that has to hold itself to the bed.

Now to figure out how to insulate it from the heat, so I don’t have to print it out of Nylon…

Posted in 3D Printing, HOW-TO | Tagged , | Leave a comment

Gone fishin’

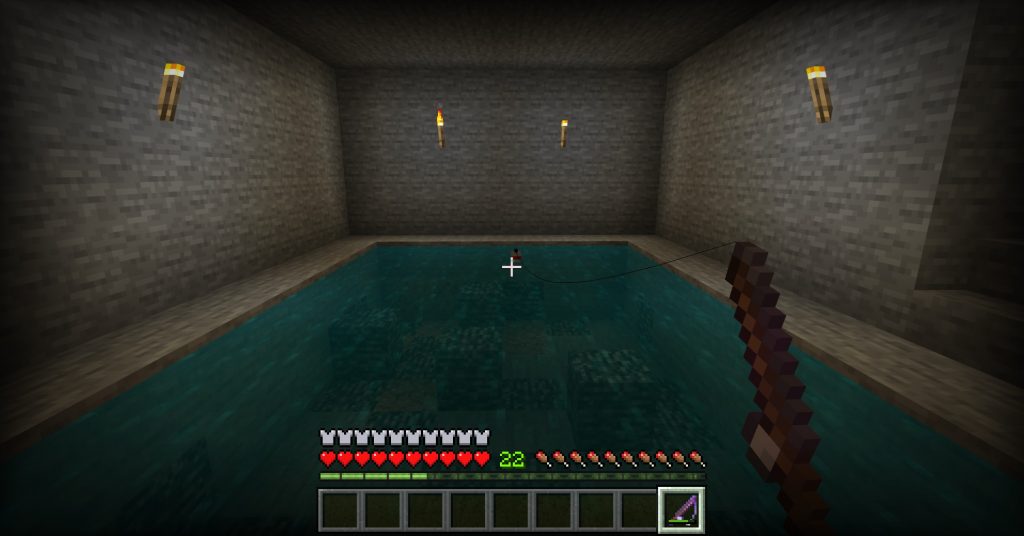
Fishing in Minecraft isn’t exactly difficult. Once you craft a fishing rod, it’s mostly a question of waiting for something to bite, and right-clicking to reel it in, then right-clicking a second time to cast the line back out again. It makes “easy” look difficult.

Unfortunately, until you acquire a fully-enchanted fishing rod (or at least Lure III), it’s also about as engaging as watching paint dry, but still requires at least a good part of your attention, to avoid missing any fish.

Yes, it’s a sterile, isolated pool. No, that doesn’t matter. #minecraftlogic

Fishing in Minecraft does, however, have in-game advantages. There’s lots of stuff in there — some of which (including important “treasure” enchantments such as Mending) can’t easily be found in other ways. And it’s fun to see what new rare items have been added in recent versions of the game.

Fortunately, the fishing algorithm is simple enough that it can be readily automated:

  • Wait for a loud sound (the “fish” biting);
  • Right-click the mouse;
  • Wait about 250ms;
  • Click it again to re-cast;
  • Wait about two seconds to re-arm.

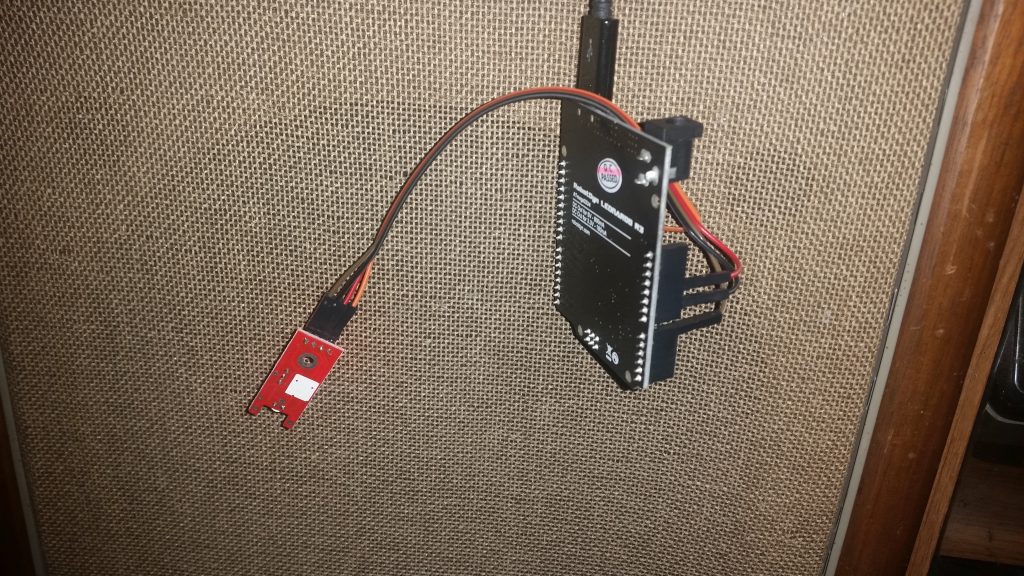
The Arduino Leonardo is an Arduino board specifically designed to allow the easy generation of mouse and keyboard input to a PC. With a few lines of C++ code, the Leonardo (attached via USB) can emulate a mouse and send right or left clicks and/or mouse movement commands.

A short sketch and attached microphone sensor later, and the Leonardo is on duty in front of one of the speakers, listening for the sound of a strike. Now the fish catch themselves.

The microphone sensor is from one of those cheapo sensor kits on Amazon.
I forget which one, but it doesn’t really matter.

It’s a temporary project (and the $30 or so cost for the Leonardo is a bit expensive for a dedicated Minecraft fishing robot) — but it’s a fun example of what can be done on a whim with even very simple microcontroller electronics. Technologies like USB have many layers of complexity. They make lots of things possible, but are inherently complex to use, out of the box. Progress speeds up when those technologies are packaged in easy-to-use modules.

Civilization advances by extending the number of important operations which we can perform without thinking about them.

–Alfred North Whitehead

Posted in Analog, Arduino, Audio, C, Digital, Games, Minecraft | Leave a comment