Non-Volatile SRAM

I’m used to discovering cool new technology when browsing sites like DigiKey. But occasionally, you’ll come across device descriptions that at first look like oxymorons.

I recently needed to order a few 32kB SRAM chips for a course I’m teaching, involving building the latest incarnation of the DrACo/Z80 computer. DigiKey has always been a reliable source for SRAM, and ever since I learned that pretty much every manufacturer out there uses compatible pinouts and protocols, life has been easy. (There are benefits to working with tech with forty-year-old traditions and standards!)
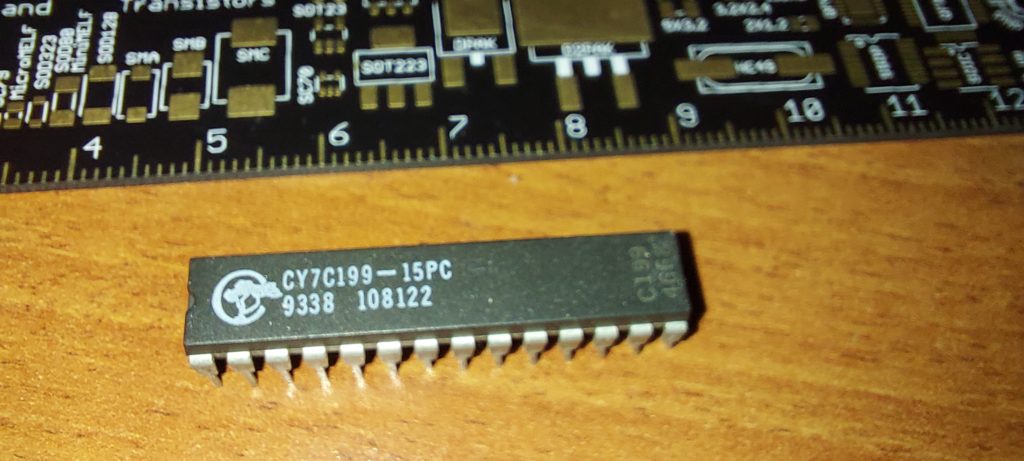
32kB (volatile) SRAM

While ordering the SRAM, I came across an interesting filter field — Volatile or Non-Volatile. This is interesting because SRAM, being transistor-based, is inherently volatile: when you remove the power, it stops remembering whatever you stored in it. (SRAM uses six-transistor memory cells, and when you remove the power, the delicate balancing act that keeps it in a zero or one state goes away. When powered up again, it will basically pick 0 or 1 at random.)

Filtering by Non-Volatile and selecting a likely-looking example, it became apparent what I was looking at. Someone using SRAM had at some point asked an engineer to make a version that wouldn’t lose its contents when powered off. Having looked at the problem, an engineering solution was arrived at — a button-cell battery and a small power management circuit was unceremoniously grafted on top of a memory chip. When external power is available, the system works as usual. When power to the Z80 is cut, it keeps the SRAM memory powered but inactive, with a backup time of up to eleven years, per the datasheet. It looks weird, but it works nicely.
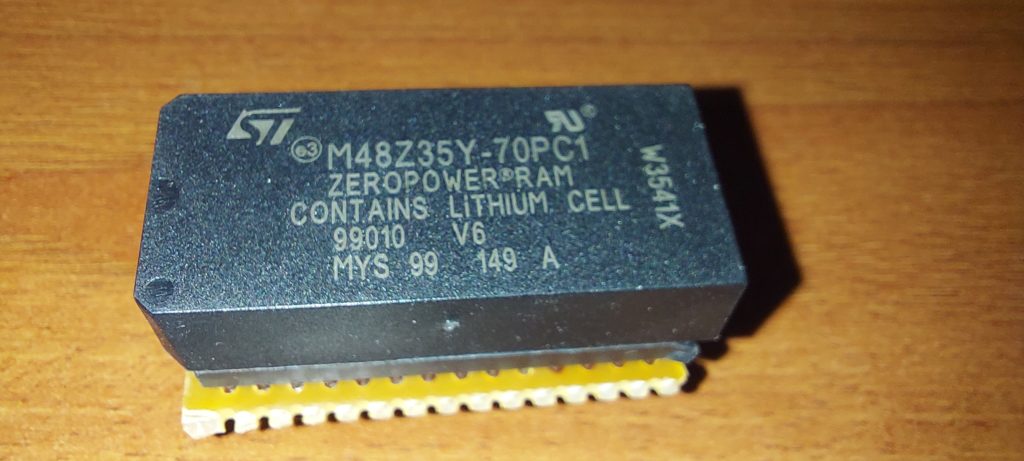
Battery-backed-up NVSRAM, on its custom adapter

The form factor is still DIP28 with the same (or compatible) pinout — but due to the addition of the backup battery, it’s in a 600-mil (0.6″) wide format instead of 300-mil. The 32kB SRAM chips we’ve used over the years have come in both formats — and both work well on a breadboard. However, the original prototype uses a 300-mil socket. Re-wire-wrapping it would be a boring, tedious weekend project with a real risk of breaking things.

The most efficient solution (the one which would have it working by the next lecture and which didn’t involve FedExing exotic adapter PC boards overnight) was to hack together an adapter out of stripboard. It actually turned out better than I was expecting.
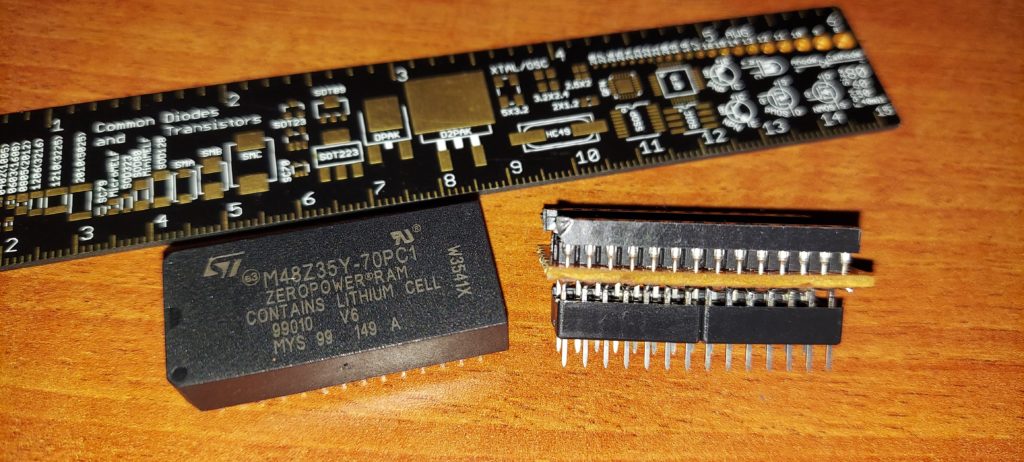
The NVSRAM unit next to its adapter

This almost solved the problem. The row connectors I used for the 300-mil pins were too big to fit in the DrACo’s wire-wrapped socket. Fortunately, a pair of DIP14 sockets were just the right size to fit in the socket and accept the new contraption.
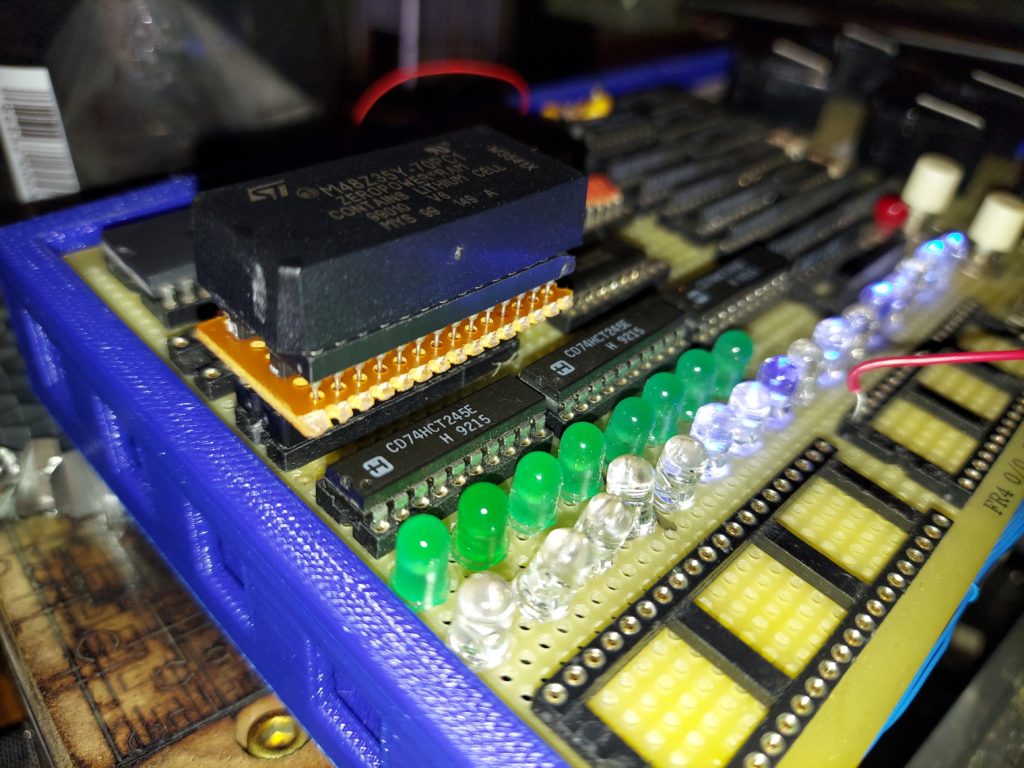
The whole works, in place on the DrACo/Z80.
It looks weird, but it works!

It’s weird, having 32kB of memory space that won’t go away. Now I need to figure out what to do with it. For now, I’m running a short program to zero it all out.

What uses do people have for so many thousands of bytes of memory, anyway…??

Posted in Digital, DrACo/Z80, Drexel, EET325, Toys | Leave a comment

Meta-tool

One of the most interesting and useful things about 3D printers is that they’re meta-tools — tools that can be used to make new tools.

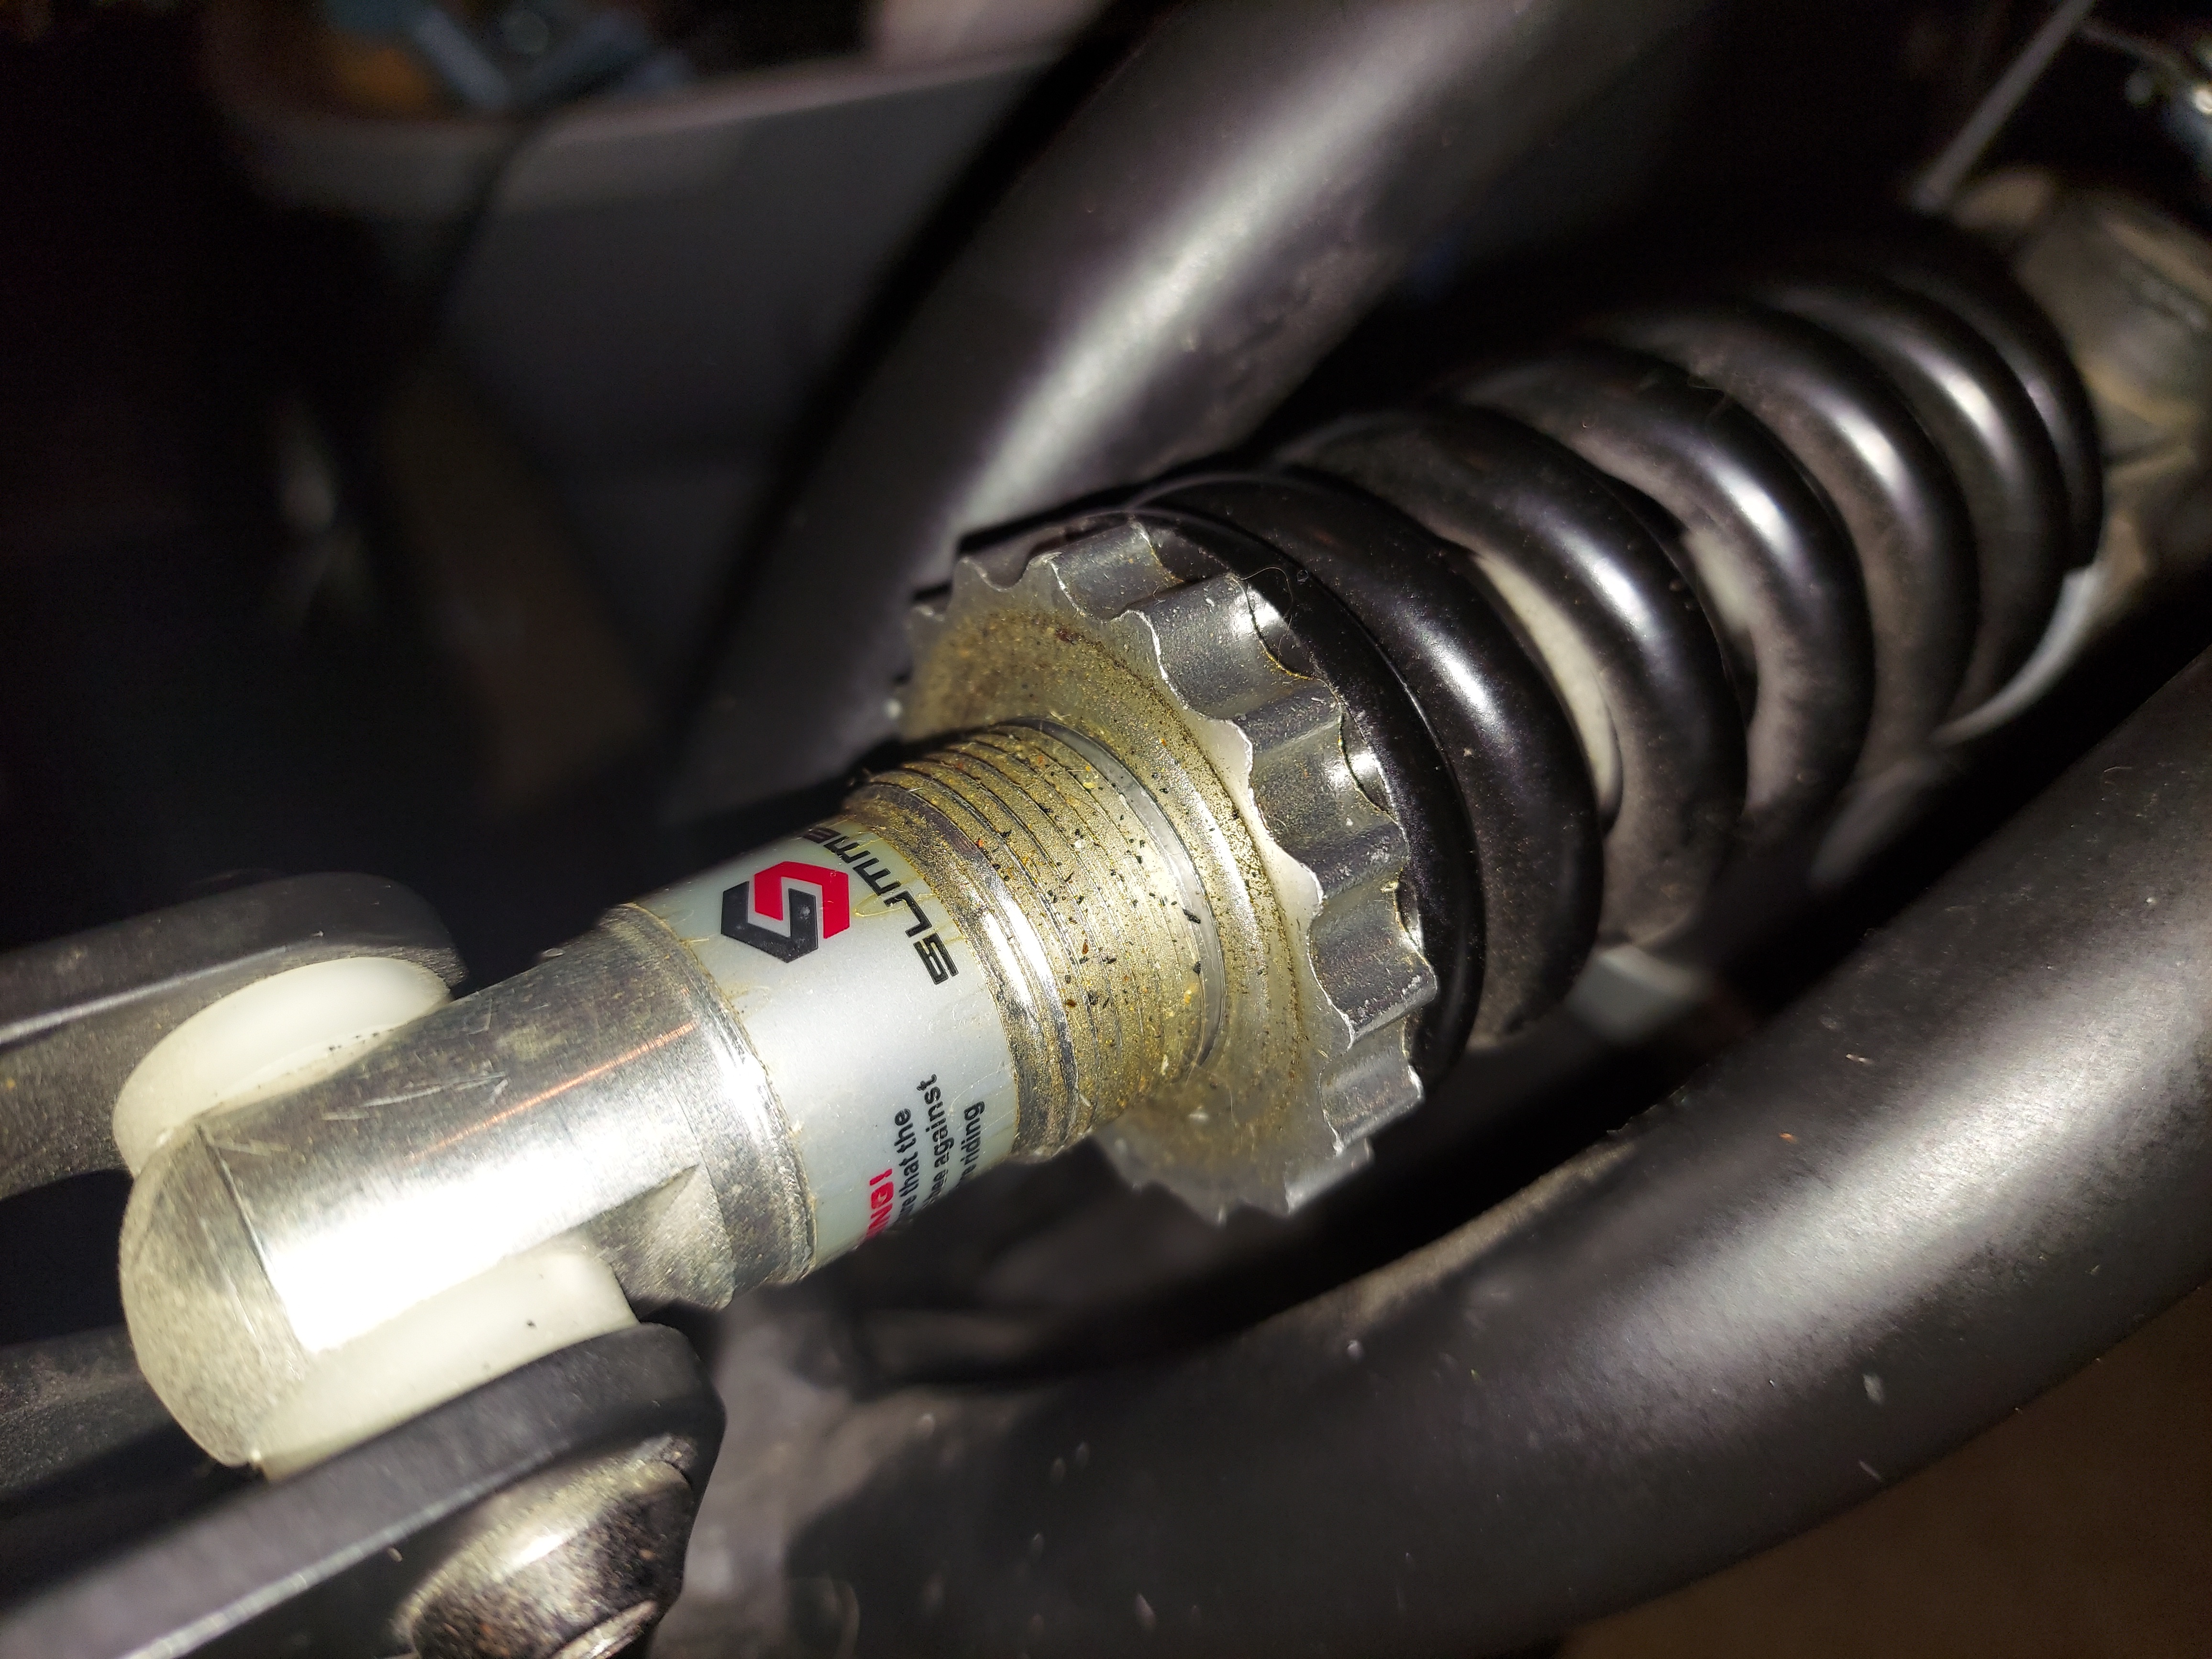
I recently needed to adjust the suspension on the e-bike I’m building, but found it quite awkward to turn due to a combination of spring stiffness, inaccessibility, and small diameter. It would be difficult to get slip-joint pliers around it, and turning it by hand wasn’t feasible.

It’s technically a hand-adjustable mechanism, but is already a lot more than finger-tight.

After a few quick measurements, I drew up a first draft of a bit to fit over the adjustment nut. This took a few iterations to get right due to the unusual shape, but eventually I had an outline that would fit over the nut.

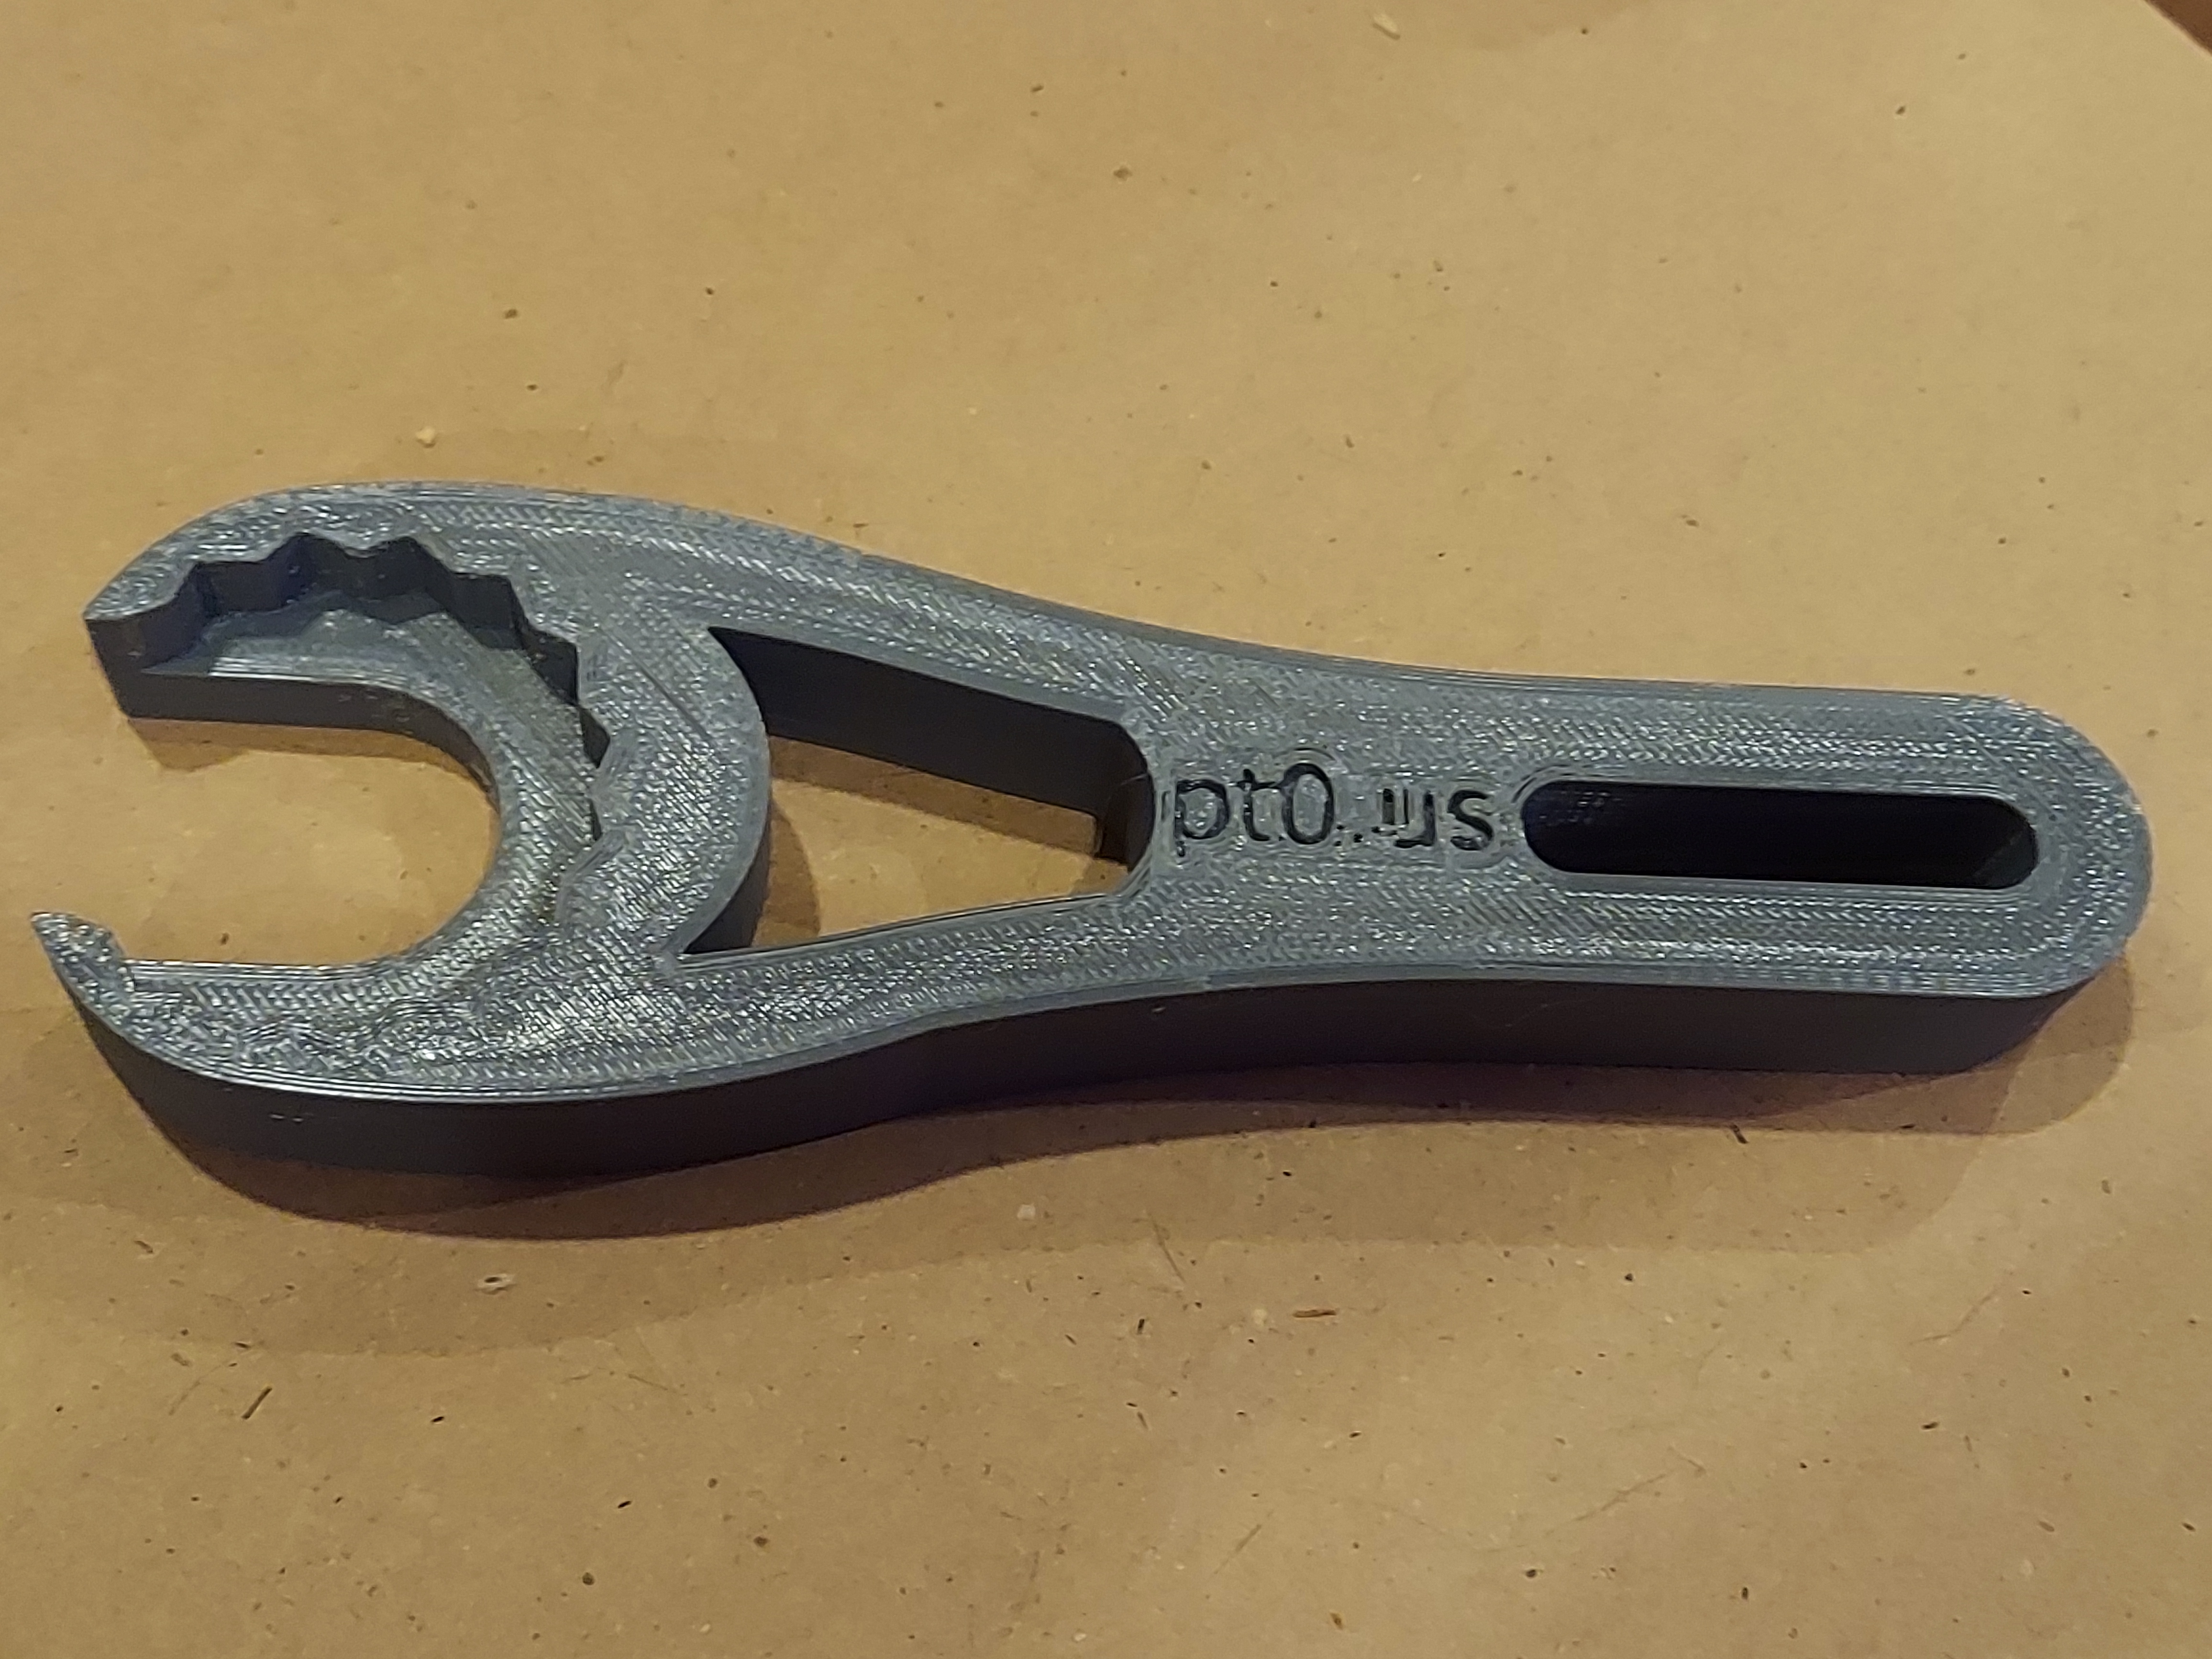
I added a handle to turn the current design into a wrench, printed it, and tried it out. It fit, but the force needed to turn the nut immediately bent the plastic out of shape. Version 1.0 looked like the right tool, but needed to be much stronger.

Keeping the center free to slip around the shock absorber body, I added as much material as possible and printed the resulting model at 80% infill with four outer shells. This did the trick, and the resulting wrench is usable enough that it’s going in the bike’s tool bag.

The printed wrench (version 2.0).
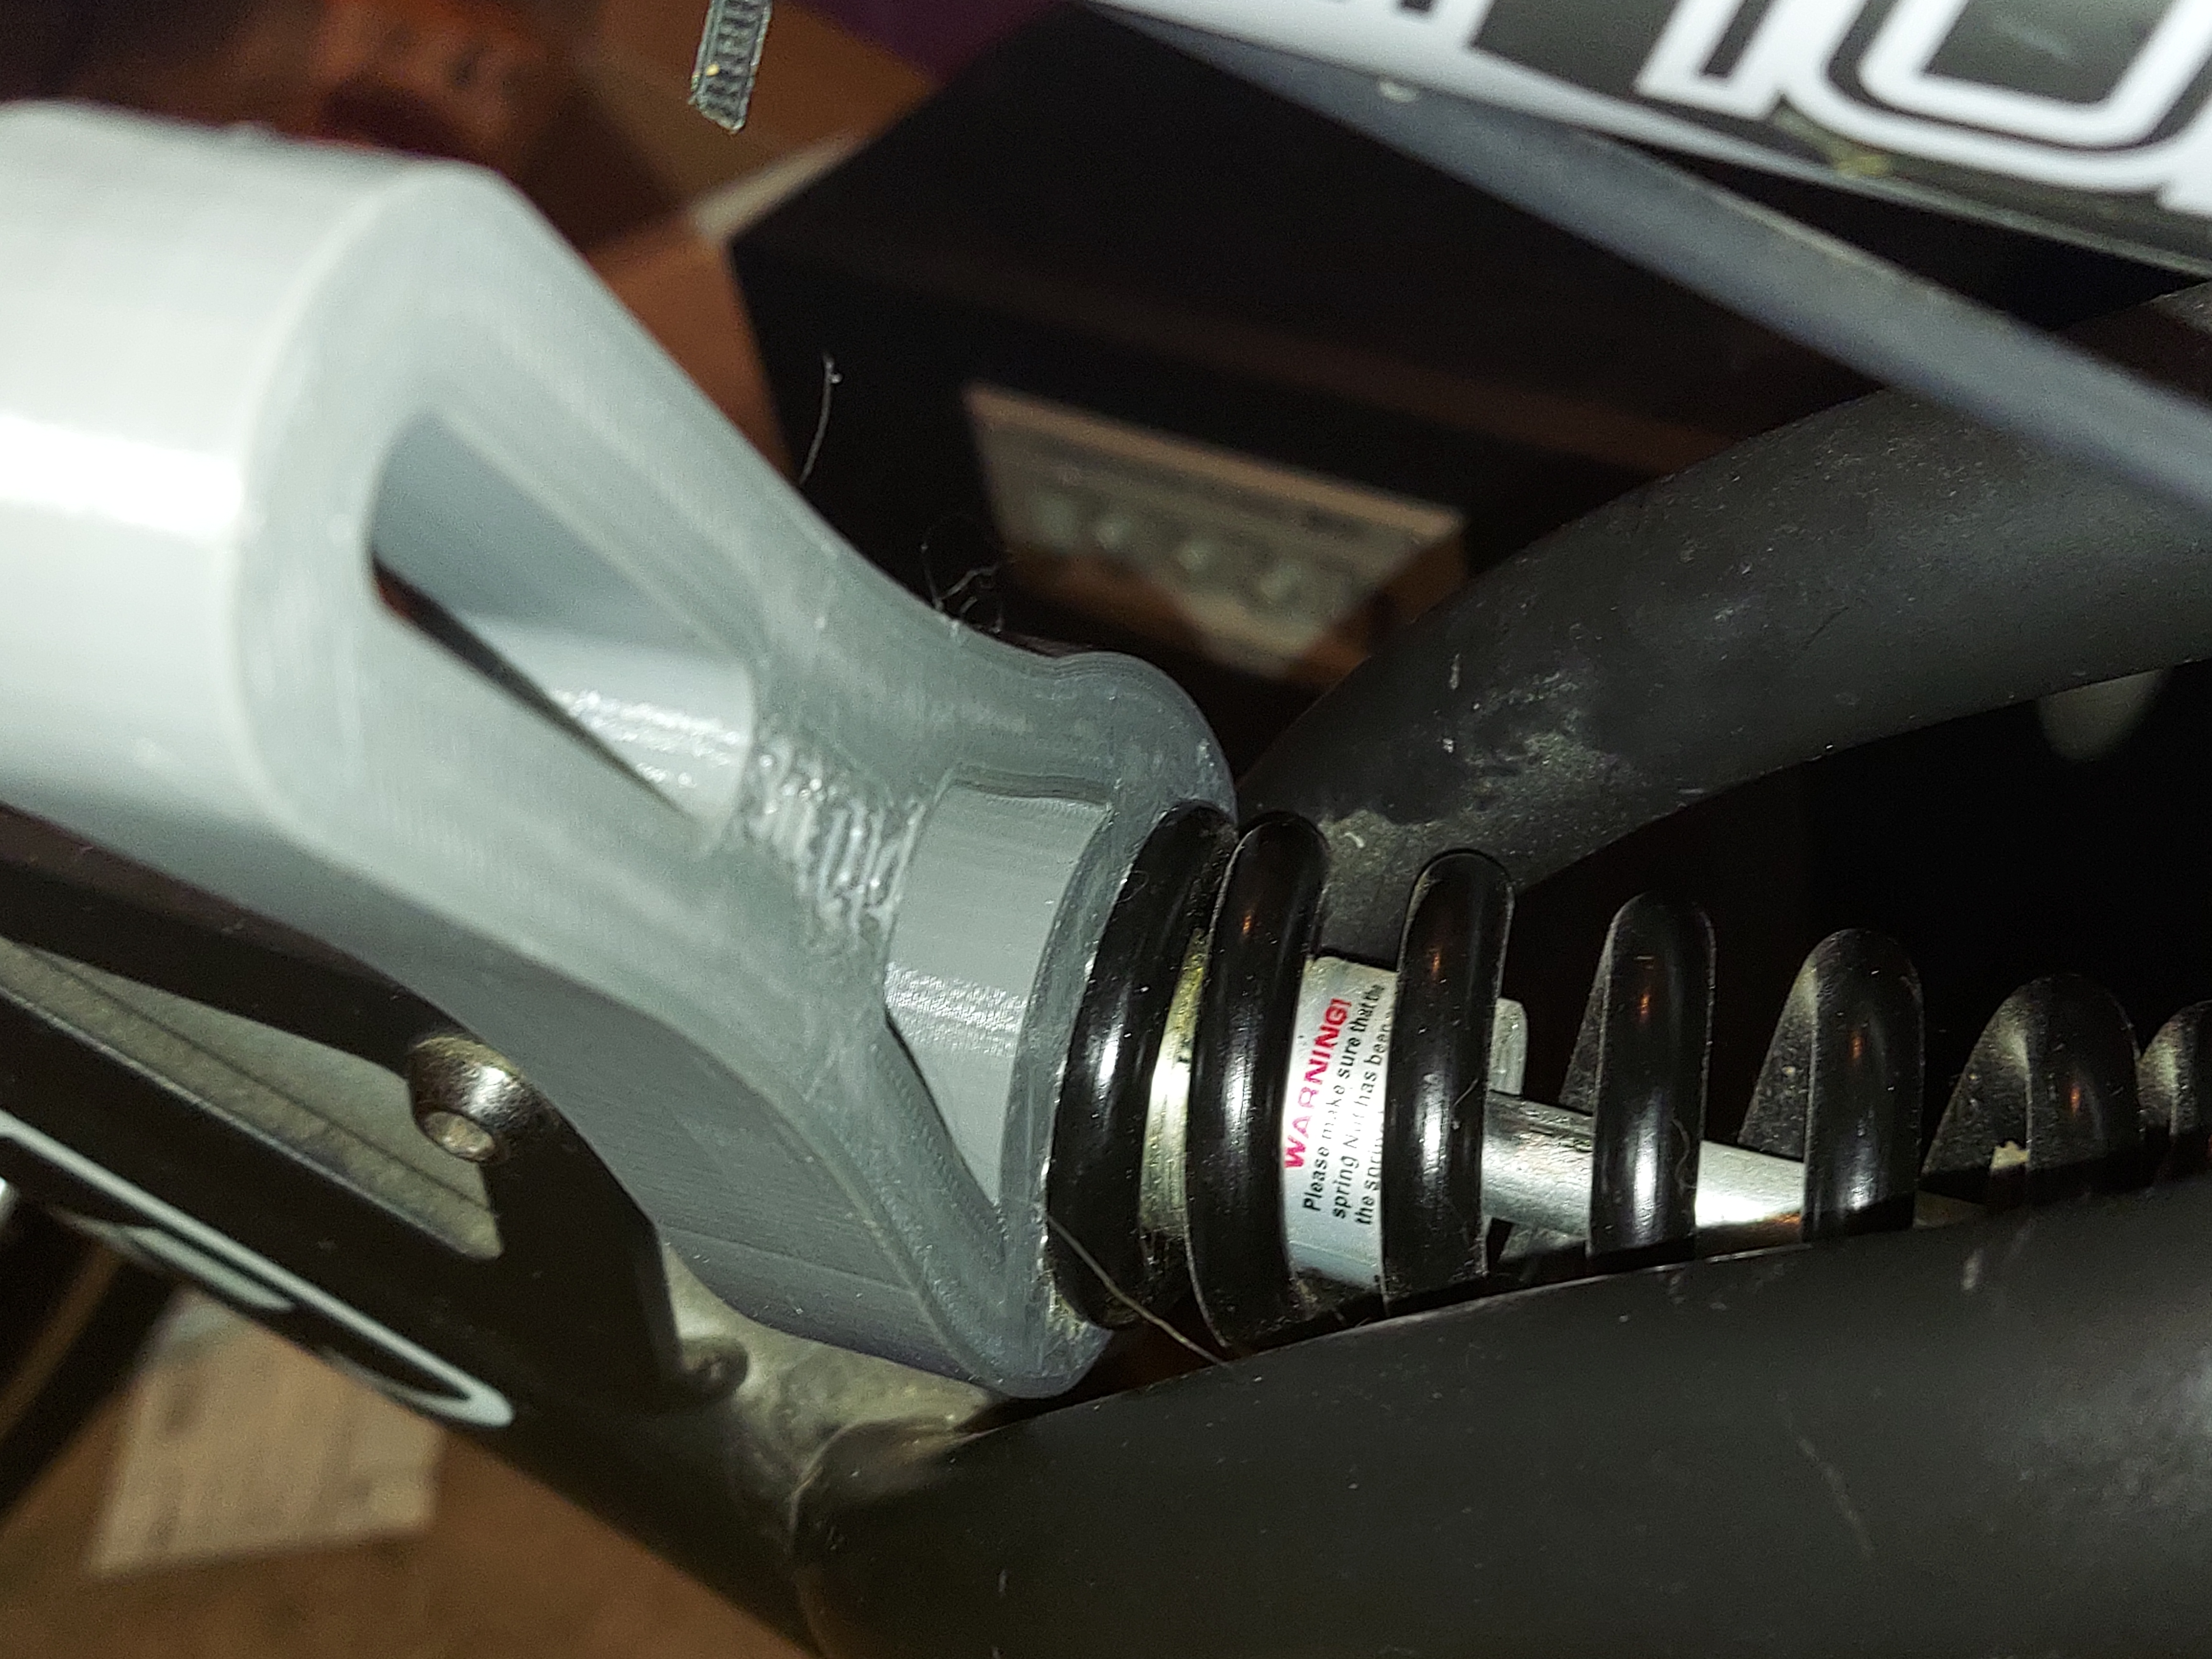
Suspension readjusted to account for rear-mounted battery pack.
Posted in 3D Printing, Tools | Leave a comment

Hardware As Firmware

60s tech may not always have been as sophisticated as today’s gear, but it was generally reliable and easy to understand. Automation, if implemented at all, was generally mechanical or electro-mechanical. While this was understandable with digital technology having barely gotten started, it meant that modifying or upgrading these systems required specialist equipment, usually only available to the device manufacturers.

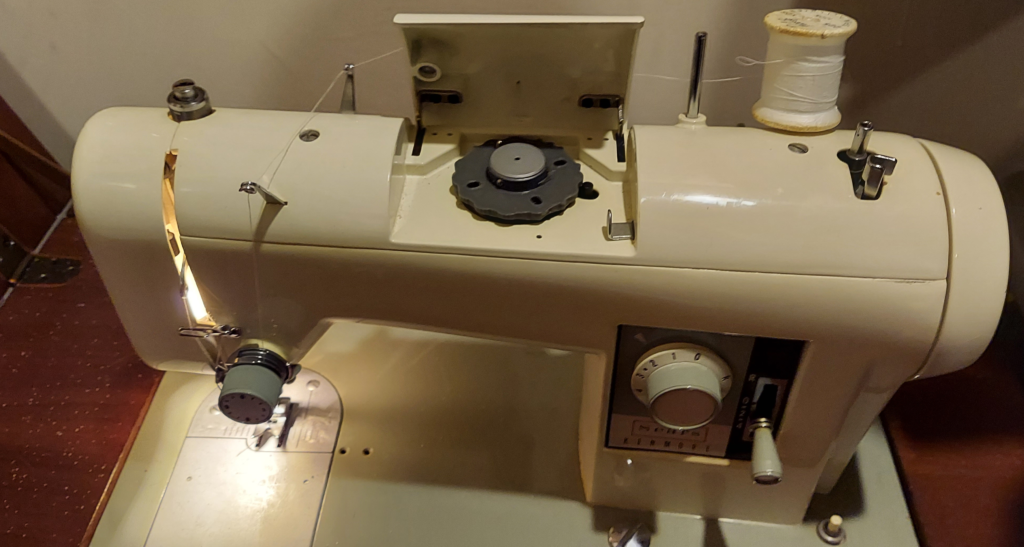
My mom’s old Sears sewing machine is a good example of this. Bought by her parents in 1967 as a (very practical and rather expensive) wedding gift, it still works well today and with occasional oiling will probably still work well in a hundred years’ time. It is a purely electromechanical device — and the “electro-” part is confined to a variable-speed electric motor and a light bulb on a switch. A competent appliance tech from the 1920s would have understood it.

A 1967 Sears Kenmore sewing machine, showing the pattern disc compartment on top.

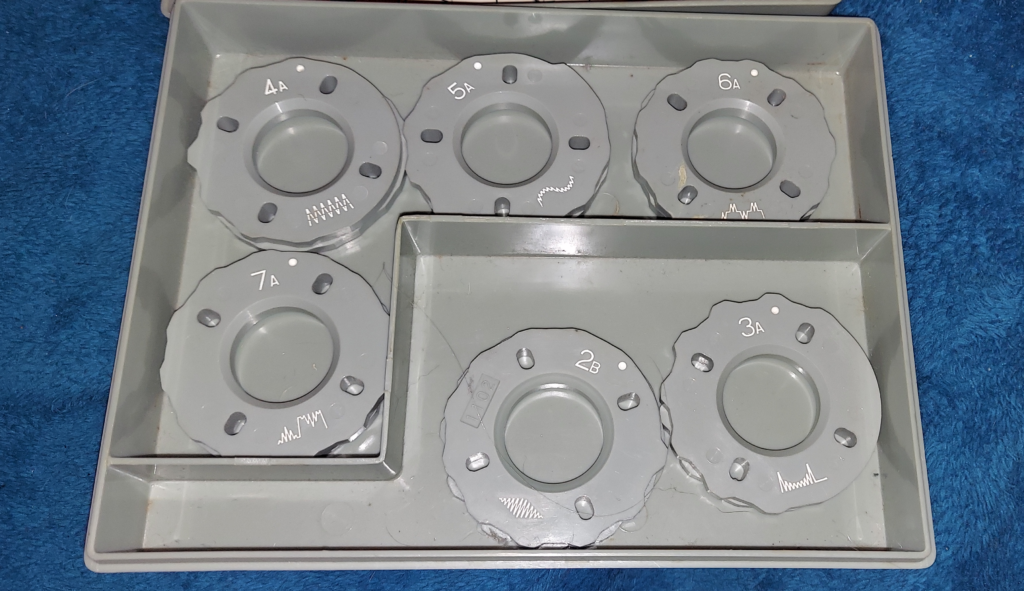
Despite all that, it’s actually programmable. Sort of. Like many higher-end sewing machines of the era, it has a provision for incorporating different stitch patterns. This is accomplished (on this machine) by a plastic disc that sits in a compartment on top of the machine. As fabric is fed through the machine, the disc rotates and a follower arm tracks along the outside of the disc, which has thickness variations corresponding to the intended deviation of the stitch pattern. Higher areas on the disc move the needle to the right; lower ones allow a spring to move it back to the left.

The disc library for the Sears sewing machine. (Not sure what happened to Disc 1…)

Production of bespoke plastic parts, back then, would have generally been done by hand, unless many copies were needed. A skilled tech would mark a design on a piece of plastic, then cut it out with a jigsaw and file it smooth. For larger runs, such as for the discs that came with the machine, copies would be injection-molded — individual parts cost next to nothing, but the tooling/NRE costs are large.

These days, making singleton custom plastic parts is easy. With a few measurements (would you believe these things are actually Metric?!?), it’s easy to generate a .STL file to get a 3D printer to make custom discs.

The relevant measurements are:

  • Center hole diameter: 25mm
  • Outer diameter: 53-57mm (radius of outer path is 27.5mm +- 1mm
  • Thickness: 4mm (single layer) / 8mm (double sided)
  • Oblong holes every 90 degrees, from 17-23mm from center, 4mm wide

Here is a template in Sketchup, if you want to create your own.

With this template, all kinds of new patterns are possible — even Morse code…

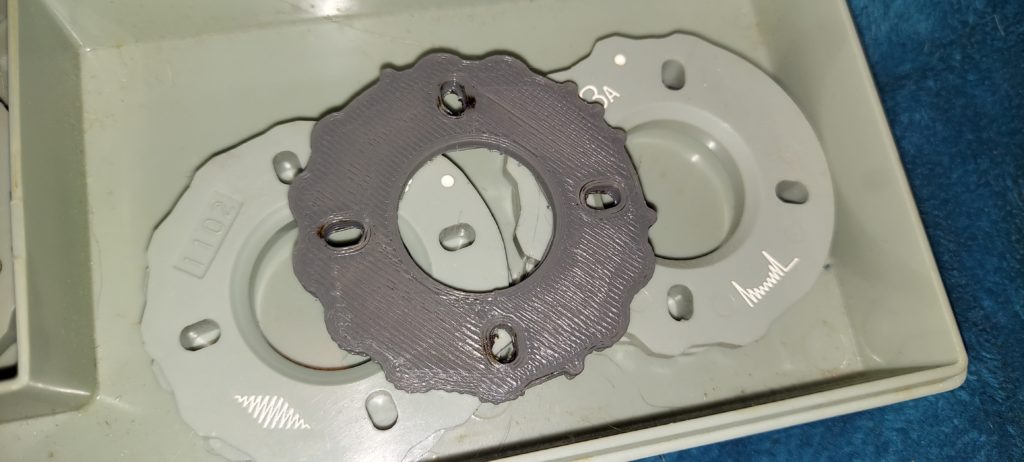
A brand-new pattern disc for a 55-year-old sewing machine.
It spells out “PT0 US” in Morse code. Or that’s the idea.

Posted in 3D Printing, Design, Mechanical, Nostalgia, Tools | Leave a comment

On Beyond Double

Sometimes, 64 bits of resolution just isn’t enough — especially when floating point arithmetic only uses 53 of those bits for the significand. There are arbitrary-precision libraries out there, but it would be nice to have larger floating-point formats supported by the compiler.

It turns out that the floating-point units on x86 processors (32- and 64-bit) support an 80-bit “extended precision” type — and GCC/mingw supports this as type “long double.”

It’s not quite the 128 bits of floating-point goodness you’d expect based on sizeof(long double) — each such variable takes 128 bits — sixteen bytes — of space! Along with this extended precision, printf() now (once you know how to ask nicely) also will print digits to 62 points past the decimal place before switching to zeros. (Exactly how many of these digits mean anything is debatable, but at least it won’t introduce an artificial precision limitation.)

Using printf() and friends on long doubles works well: the format string is %Lf. In order for mingw to understand this format string, though, you’ll need to include the following line:

#define __USE_MINGW_ANSI_STDIO 1

I decided to see how the extra precision worked by computing pi. The algorithm I chose is numeric integration by the trapezoid method of 1/4 of the unit circle (and then multiplying by 4.) If your sums are precise enough, you should get roughly as many digits of Pi as the log10 of the number of samples.

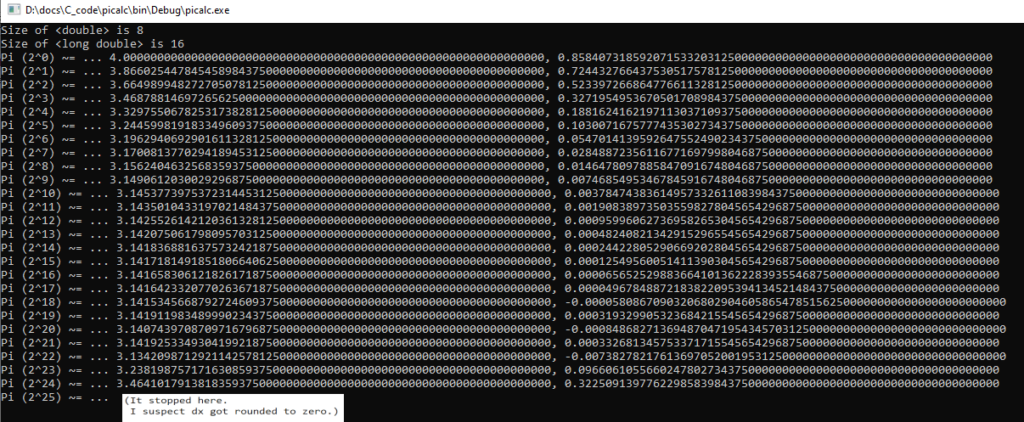
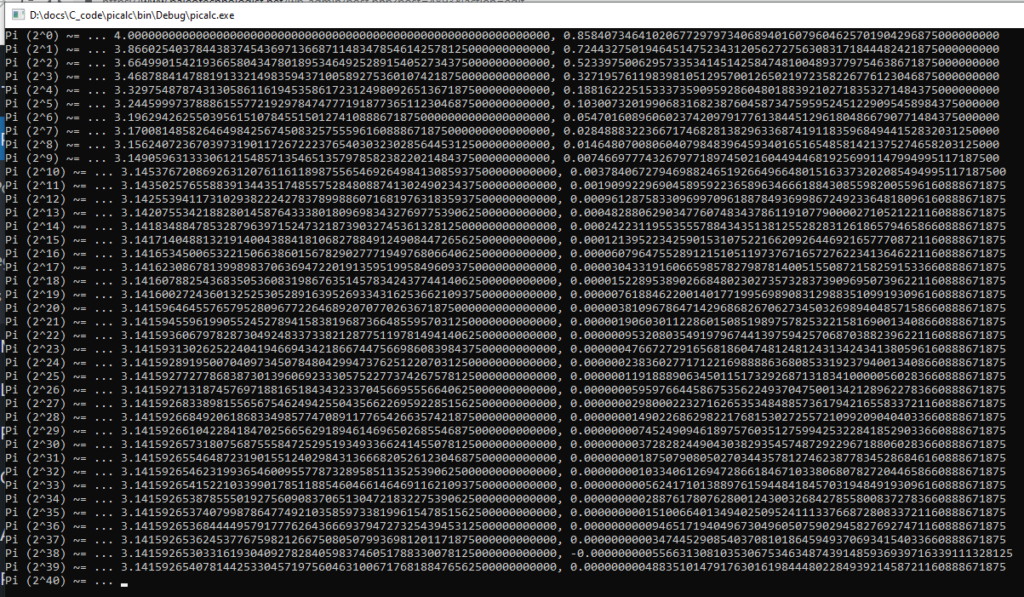
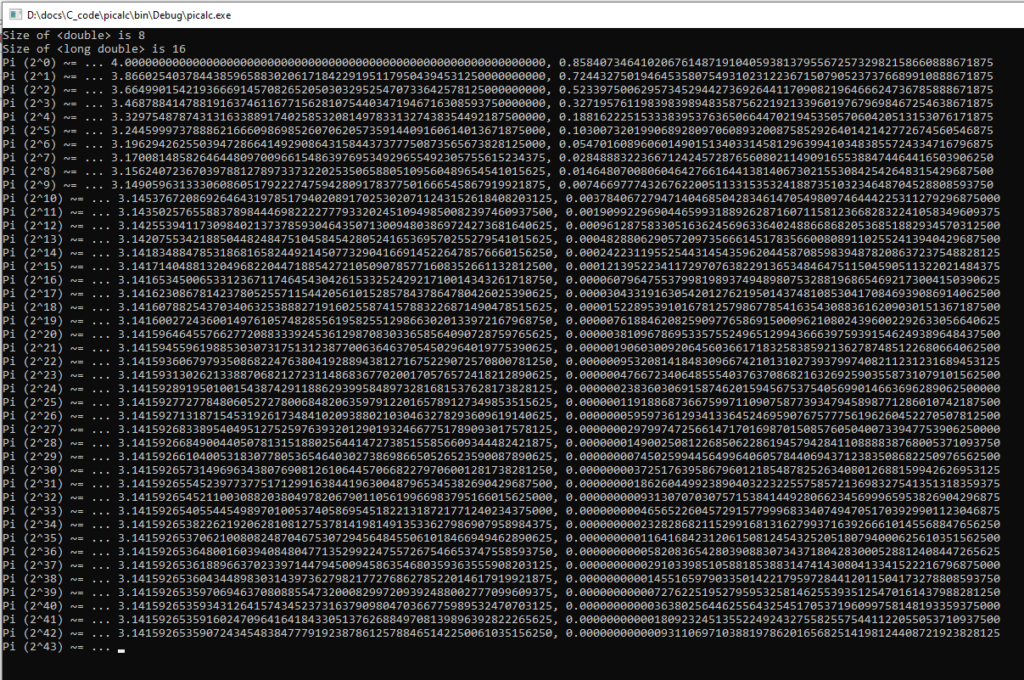
I wrote the following program to compare the precision performance of <float> vs. <double> vs. <long double>. 32-bit floats stopped getting more accurate at 2^18 slices, and froze altogether at 2^25 slices (I suspect dx became indistinguishable from zero.) 64-bit double precision did better, overshooting a little at 2^38 slices. Long double is still going strong at 2^42 and might get another two digits (90 –> 89) on the next iteration. Maybe.

Printing the calculated digits of Pi at each resolution shows the differences:

Calculating pi using 32-bit float. The lack of precision literally stops it after a few seconds’ runtime.
Calculating Pi using 64-bit double precision floating point. Better than Float, but we can do better yet.
(It overshot on 2^39, which should not happen, and may be stuck on 2^40…)
Calculating Pi using long double.

Comparing the latest result from <double> and <long double> — 2^39 — we get:

Float: 3.1416 (best result at 2^17; it then overshot and eventually hung)
64-bit Double: 3.1415926540781… (8 digits past the point)
Long Double: 3.14159265359706… (10.5 digits; even the 9 is correct with rounding.)

Another question (which I’m not tracking this time) is how long each of these take, on the desktop computer as well as on the Samsung A71. The desktop may well be a lot faster at floating point — as an informal comparison, both the desktop and A71 were running overnight; the PC got to ~2^42 and the A71 got to ~2^36, both having started roughly at the same time and run for roughly ten hours. Each level takes as long as all previous levels, so a gap of six levels completed is a 2^6, or 64x, gap in performance.

Maybe it’s not time to retire the desktops for big-data calculations, after all.

Posted in C, Math | Tagged , , , , | Leave a comment